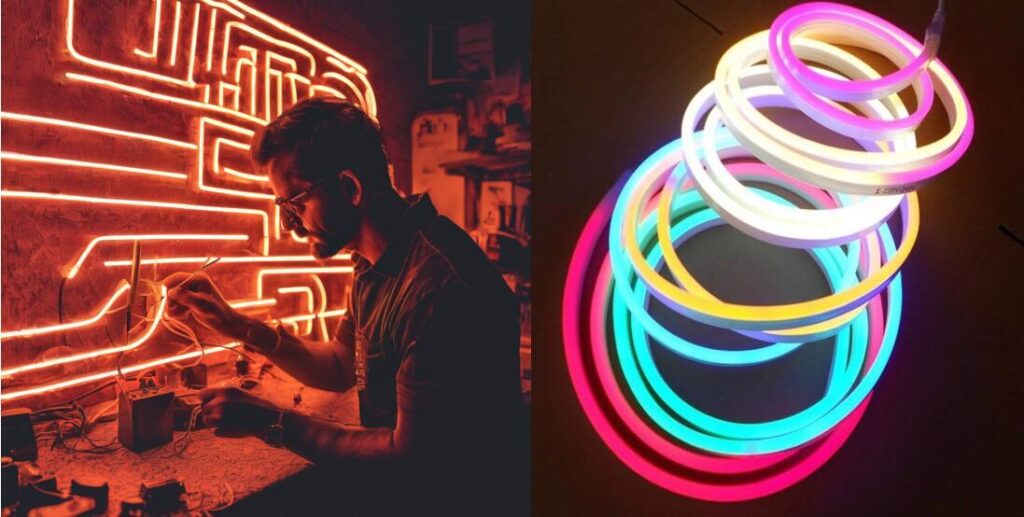
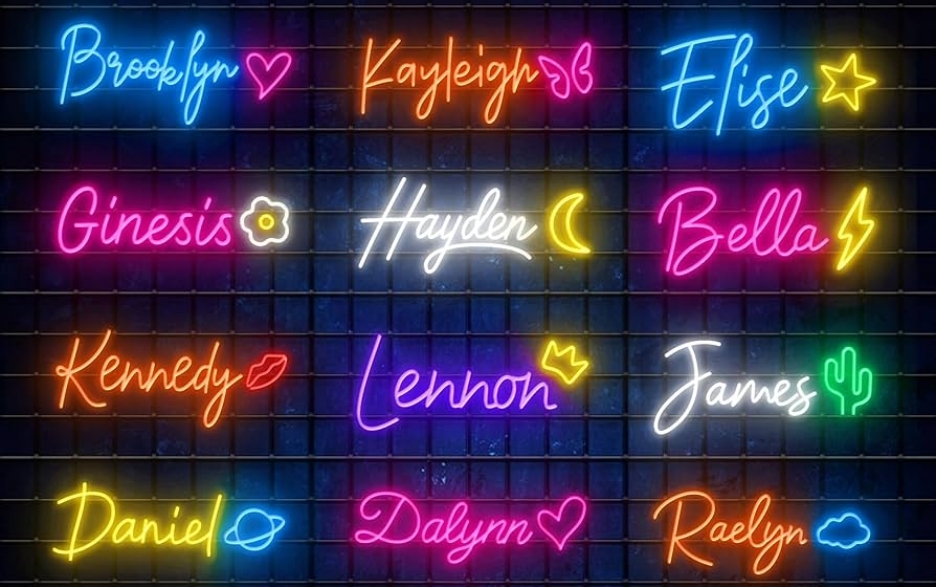
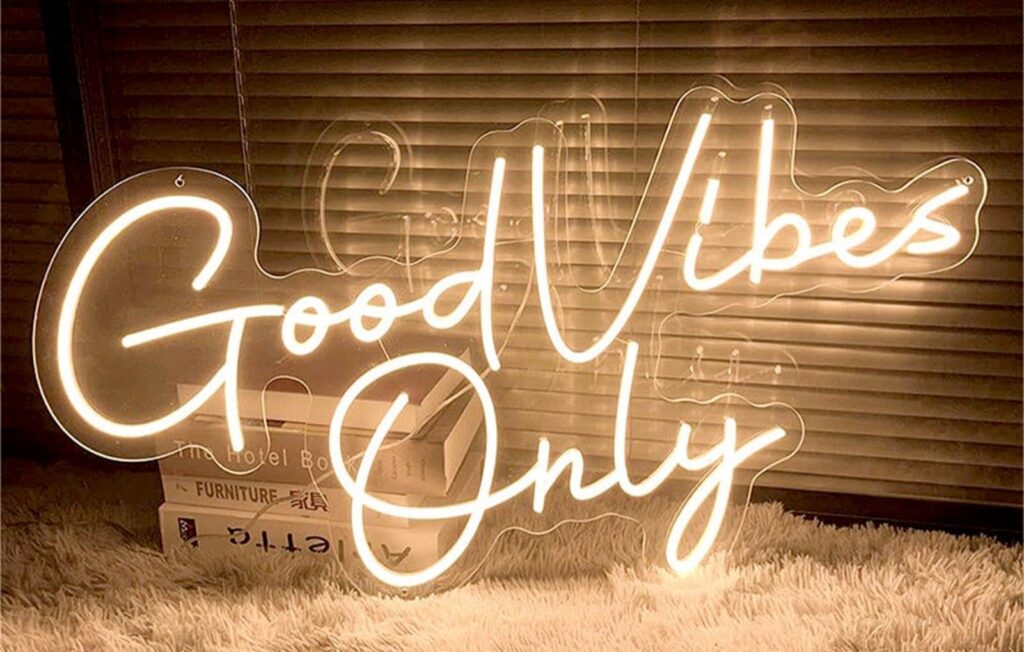
Creating your own LED neon signs can be an exciting and rewarding project. Whether for personal use, home decor, or professional signage, LED neon signs offer a modern, vibrant, and energy-efficient alternative to traditional neon lights.
In this guide, we’ll walk you through the step-by-step process of your own LED neon signs.
Materials You Will Need to Make LED Neon Signs
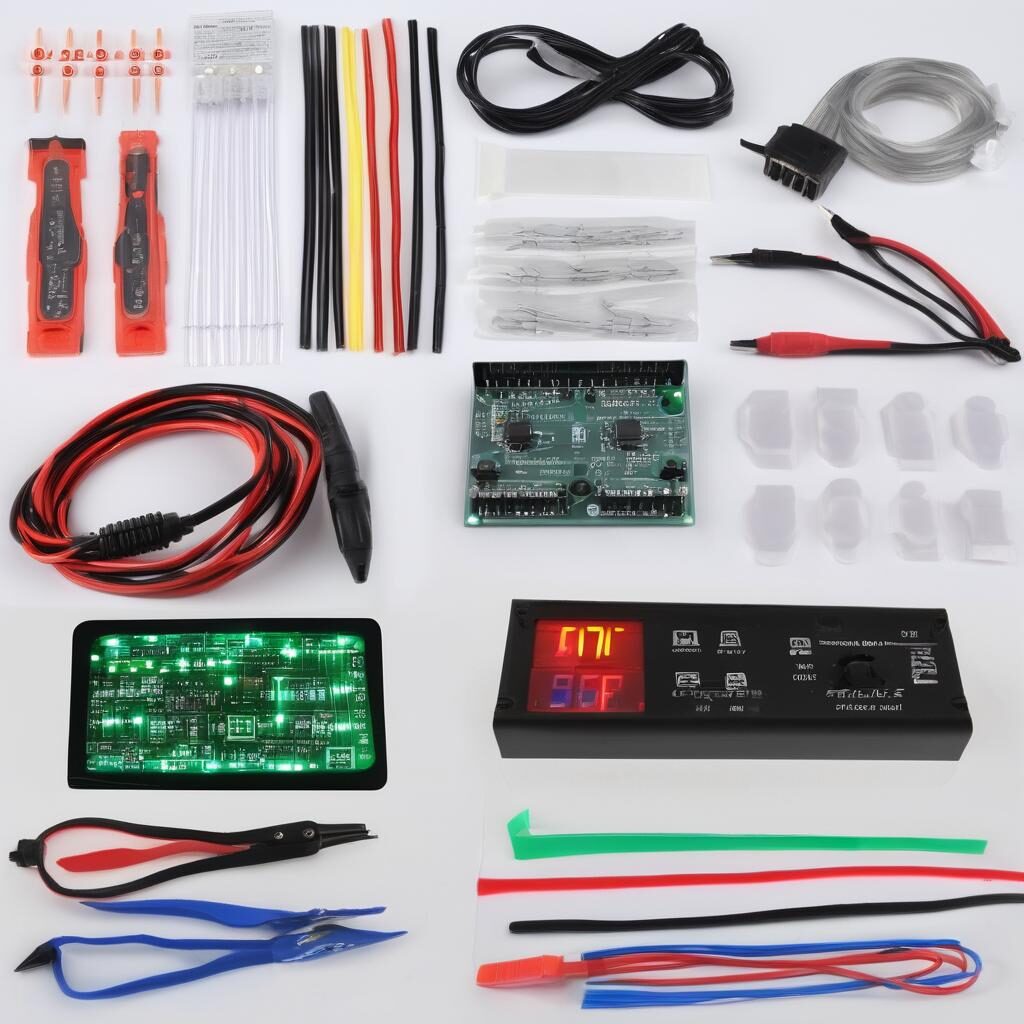
To get started with your LED neon sign, gather the following materials:
- LED Neon Flex Strip: This is the heart of your sign. LED neon flex strips are flexible, durable, and come in various colors. They mimic the look of traditional neon lights but are safer and more energy-efficient.
- Power Supply:Choose a power supply that matches the voltage and wattage requirements of your LED neon flex strip. It’s crucial to ensure compatibility to avoid any electrical issues.
- Mounting Surface:Depending on your design, you may need a sturdy surface to mount your LED neon sign. Acrylic boards are a popular choice due to their transparency and durability. These will serve as the base or backing for your sign. It’s transparent, allowing the LED neon strip to stand out.
- Wiring and Connectors: You’ll need wires and connectors to connect your LED neon strip to the power supply. Ensure you have the appropriate gauge wires and connectors for a secure connection.
- Adhesive or Mounting Clips:To attach the LED neon strip to the mounting surface, you’ll need a reliable adhesive or mounting clips. High-strength double-sided tape or silicone adhesive works well.
- Cutting Tools:A sharp pair of scissors or a utility knife is necessary to cut the LED neon flex strip to the desired length.
- Soldering Kit (Optional):If your design requires precise connections, a soldering kit can help create clean and reliable joints.
- Measuring Tools:A ruler, measuring tape, and a pencil will help you accurately plan and execute your design.
- Design Template:A printed template of your design will help you lay out your LED neon strip accurately.
Step-by-Step Guide to Making LED Neon Signs
Step 1: Plan Your Design

Before you start, sketch out your design on paper. This will help you visualize the final product and determine the length and color of the LED neon strips you will need. Keep in mind that complex designs may require more precise cutting and placement.
Here’s how to approach it:
- Conceptualization: Start with a clear concept. Sketch your design on paper or use design software like Adobe Illustrator or CorelDRAW.
- Dimensions: Decide on the size of your sign. Ensure it fits well in the intended space and is readable from the desired distance.
- Color Scheme:Choose colors that complement each other and suit the purpose of the sign. LED neon signs are available in a range of colors, so make your selection wisely.
- Font and Graphics: Use bold and legible fonts. Intricate details may not be easily visible from a distance.
Step 2: Prepare the Acrylic Backing
Cut the clear acrylic sheet to the size and shape of your design. If you’re creating a word or phrase, you might want to cut the acrylic sheet into a matching shape to provide a clean and professional look. Use a marker to outline your design directly onto the acrylic sheet.
Step 3: Cut and Shape the LED Strips
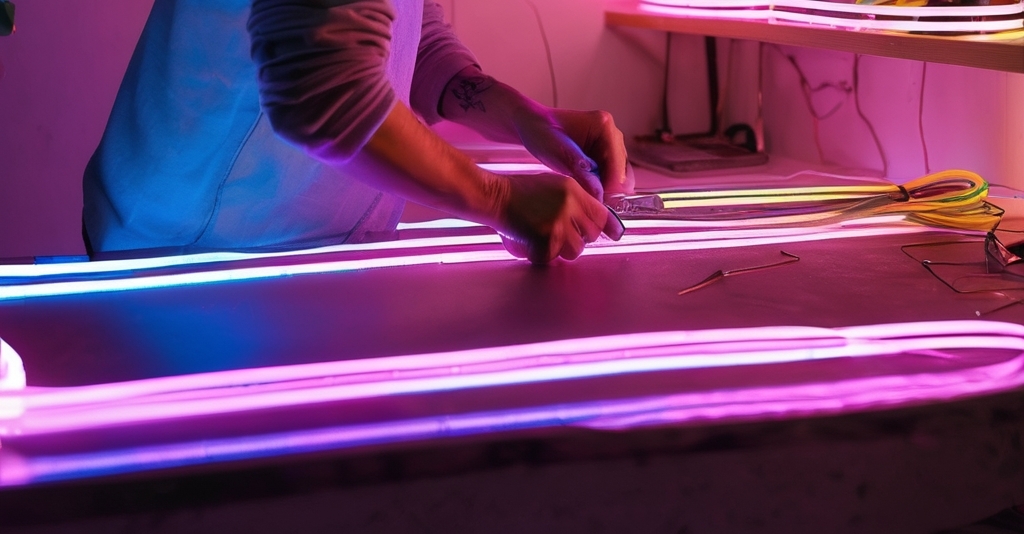
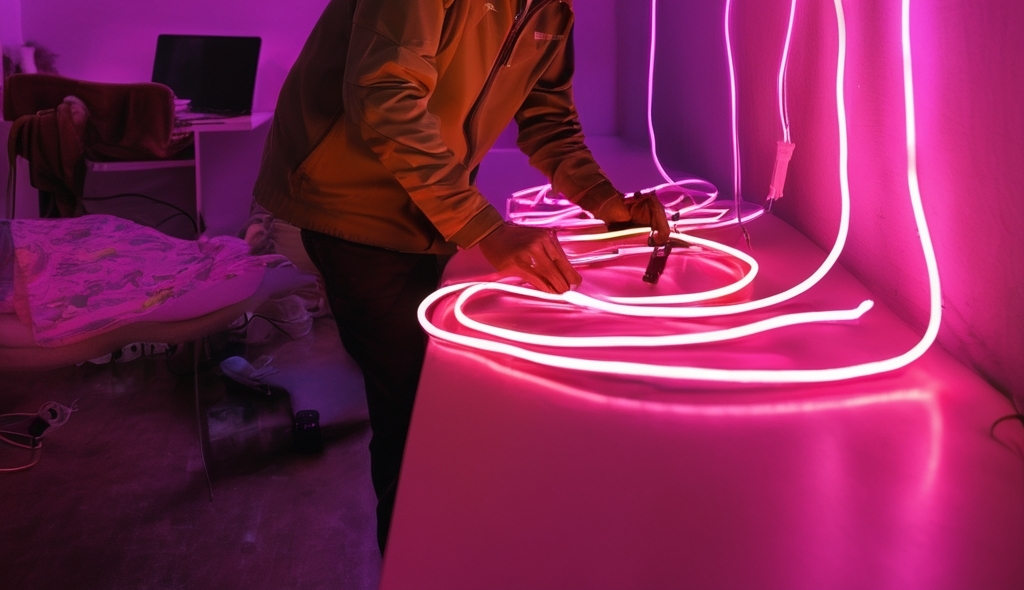
Using wire cutters, cut the LED neon flex strip to the required lengths for your design. Remember, LED strips can typically only be cut at specific intervals, usually marked on the strip. Use pliers to gently bend the strip along the curves and angles of your design, ensuring a seamless fit.
Step 4: Attach the LED Strips to the Acrylic
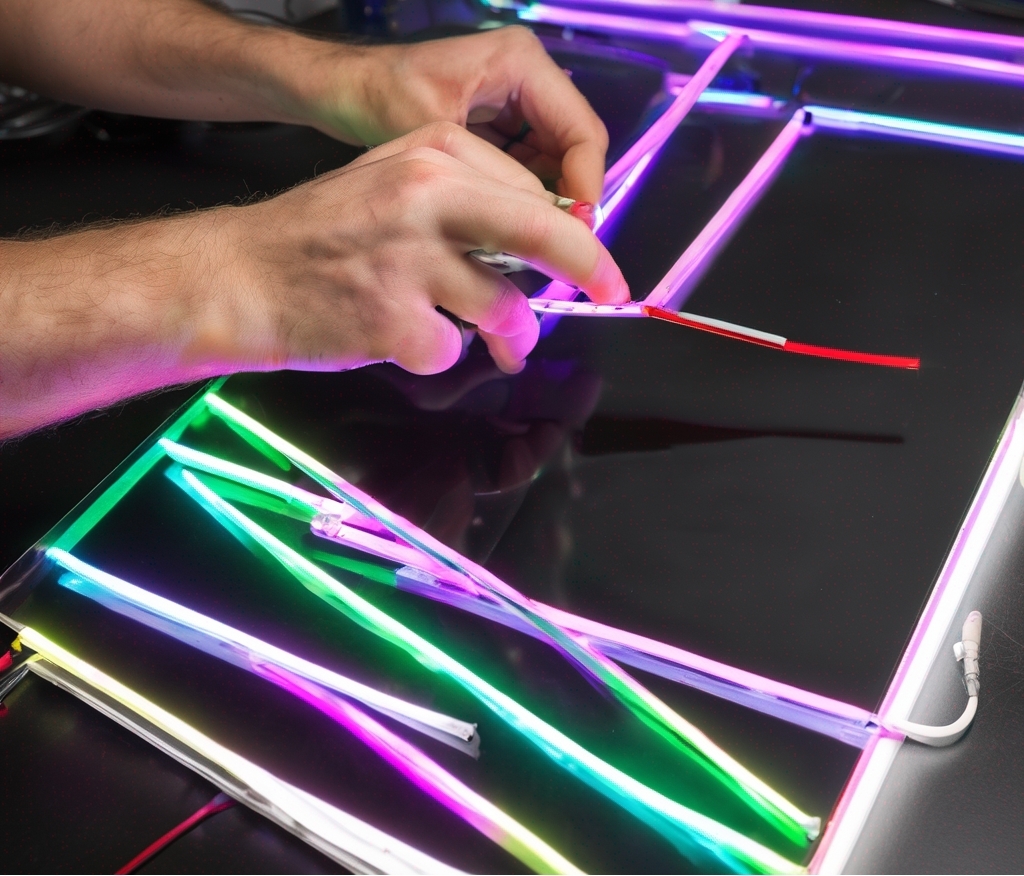
There are two common methods to mount the LED strip onto the acrylic board:
- Mounting Clips: Secure the LED strip using small mounting clips. Drill tiny holes along the traced outline and screw the clips in place. Then, snap the LED strip into the clips.
- Adhesive:Alternatively, use a strong adhesive to attach the LED strip directly to the acrylic. Apply the adhesive sparingly to avoid mess and ensure it dries clear.
Step 5: Connect the LED Strips
If your design requires multiple LED neon strips, you’ll need to connect them together. This can be done by soldering wires between the strips. For a cleaner and safer connection, use heat shrink tubing to insulate the soldered joints. Ensure all connections are secure and double-check your wiring.
Step 6: Connect to the Power Supply
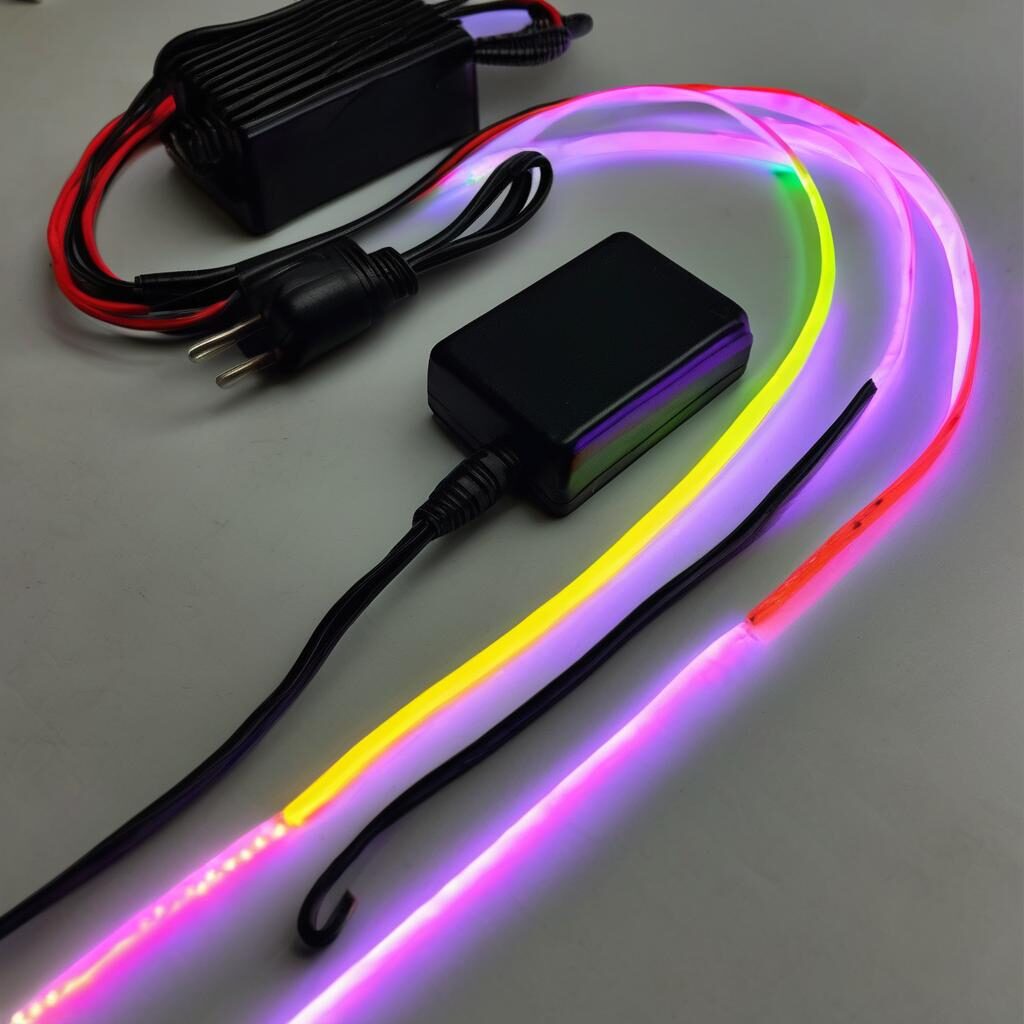
Connect the ends of the LED strips to the power supply. Ensure that the power supply is compatible with the voltage and current requirements of the LED neon strips. Plug in the power supply and test your sign to make sure all parts are illuminated correctly.
Step 7: Mount Your LED Neon Sign
Once your LED neon sign is fully assembled and tested, it’s time to mount it. You can use mounting hardware or adhesive strips to attach the acrylic backing to a wall or another surface. Ensure the power supply is easily accessible for maintenance.
Step 8: Final Touches and Troubleshooting
Inspect the entire sign for any loose connections or misalignments. Apply silicone sealant to any exposed connections if you plan to use the sign outdoors, ensuring it is waterproof. Clean the acrylic board to remove any markings or adhesive residues.
This guide provides a comprehensive approach to making LED neon signs, blending technical details with practical steps. By adhering to these instructions, you can ensure a high-quality, durable, and aesthetically pleasing result.
Tips for a Professional Finish

Creating a sleek, professional-looking LED neon sign involves attention to detail and some insider tips to ensure a flawless result. Here’s how you can elevate your DIY project to a professional level:
Precision Cutting
For clean and precise edges on both the LED strips and acrylic, it’s crucial to use sharp blades or specialized tools. Dull blades can cause jagged cuts and uneven lines, which can detract from the polished look of your sign.
Consider investing in a quality hobby knife or a dedicated LED strip cutter to achieve the best results. Remember to measure twice and cut once to avoid any costly mistakes.
Clean Connections
The connections between the LED strips and the power source are vital for both the functionality and appearance of your sign. Soldering wires instead of using connectors can provide a more secure and professional connection.
After soldering, use heat shrink tubing to cover the exposed wires. This not only insulates the connection but also gives it a clean, finished look. If you’re new to soldering, practice on some scrap wires first to get the hang of it.
Design Symmetry
Symmetrical designs often appear more professional and visually appealing. When planning your sign, consider using graph paper or a digital design tool to ensure that your layout is balanced.
Take your time to measure and mark your design carefully before you start cutting or attaching the LED strips. Symmetry can make your sign look more polished and intentional, rather than haphazard.
Test Frequently
Testing your LED strips frequently during assembly can save you a lot of hassle in the long run. After attaching each section of the LED strip, plug in the power to ensure that everything lights up correctly.
This way, you can catch any issues early, such as faulty connections or dead LEDs, and fix them before you move on to the next step. It’s much easier to troubleshoot problems as they arise than to backtrack after the sign is fully assembled.
Why Should You Use AiDiWatt Lighting LED Neon Strips for Your Project?

1. Variety of Options
AiDiWatt Lighting provides two main types of LED neon strips: Silicone Extrusion LED Neon Strips and Split Silicone Neon Strips, composed of a silicone diffuser and an S-type LED strip.
Such types boast pure silicone construction, known for its flexibility, durability, and high light transmittance. This makes them resistant to bending, UV light, and chemicals, ensuring longevity and reliability.
2. Technical Excellence
The DC12V 6X12mm LED Neon Strip is one of AiDiWatt Lighting’s standout products, widely employed in custom neon signs. This low-voltage option not only reduces energy consumption but also enhances safety, making it suitable for various applications, from commercial displays to residential decor.
3. Durability and Flexibility
One of the key advantages of AiDiWatt Lighting LED neon strips is their robust nature. The use of high-quality silicone ensures that these strips can withstand harsh conditions without compromising on performance. Their flexibility allows for creative freedom, enabling intricate designs that were previously difficult or impossible to achieve with traditional glass neon tubes.
4. High Light Transmittance
The pure silicone material used in AiDiWatt Lighting LED neon strips offers high light transmittance, producing bright and consistent illumination. This quality is crucial for creating eye-catching signs that stand out in any environment, whether it’s a dimly lit bar or a brightly lit storefront.
5. UV and Chemical Resistance
These LED neon strips are UV and chemical resistant, making them suitable for indoor and outdoor applications. This resistance ensures that the strips won’t degrade or discolor over time, maintaining their aesthetic appeal and functional integrity.
Conclusion
Creating an LED neon sign combines creativity with technical skills, resulting in a unique, personalized piece of decor. Choosing high-quality LED neon strips also plays an integral role. By following this guide, you can produce professional-quality LED neon signs that are visually striking and long-lasting.