Skip to content
Uneven brightness, hotspots, and dull lighting are common problems when backlighting translucent stone. Most failures come from one simple mistake: choosing the wrong light source or installation depth.
This guide combines Beginner Steps + Professional Engineering Tips, helping you achieve a perfect backlit effect the first time.
What Types of Stone Can Be Backlit?
Backlighting only works on stones with natural translucency. Here are the most common ones:
1. Onyx (Highly Translucent) — Best for beginners
Very bright when backlit
Strong contrast and vivid patterns
Requires lower brightness and depth
2. White Marble (Medium Translucency)
Softer, natural glow
Works well with 392 or 784 LED sheet modules
3. Quartzite (Lower Translucency)
Requires higher brightness
Best paired with 784 high-output LED sheets
4. Jade / Gemstone Panels
Artistic effect
Needs high brightness or RGBW options
5. Porcelain Slabs with Partial Translucency
Depends on model
Thickness and pigment affect light penetration
⭐ Stone Type vs Translucency vs Recommended Brightness
| Stone Type | Translucency | Typical Thickness | Recommended LED Brightness |
|---|---|---|---|
| Onyx | High | 15–20 mm | 392 or 784 |
| White Marble | Medium | 18–25 mm | 784 |
| Quartzite | Low | 20–30 mm | High-output 784 |
| Dark Marble | Low | 20–30 mm | 784 (max brightness) |
| Artistic/RGB Panels | Medium | 15–20 mm | RGBW LED Sheets |
If you read only one section, read this one:
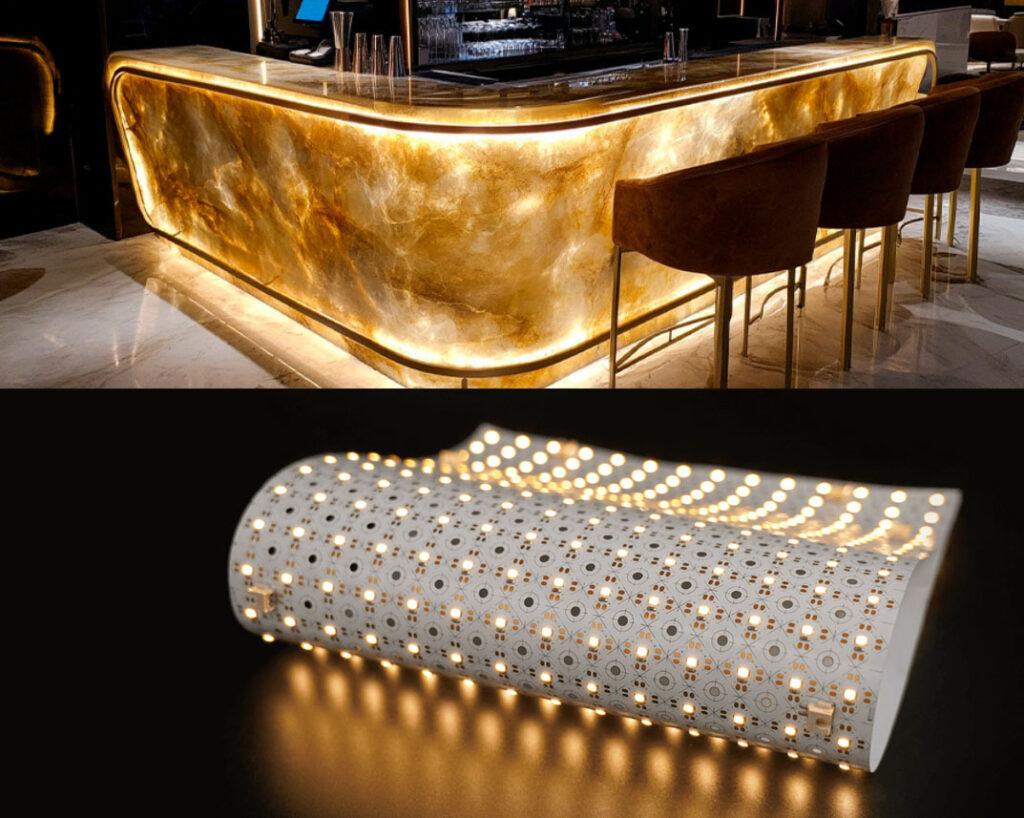
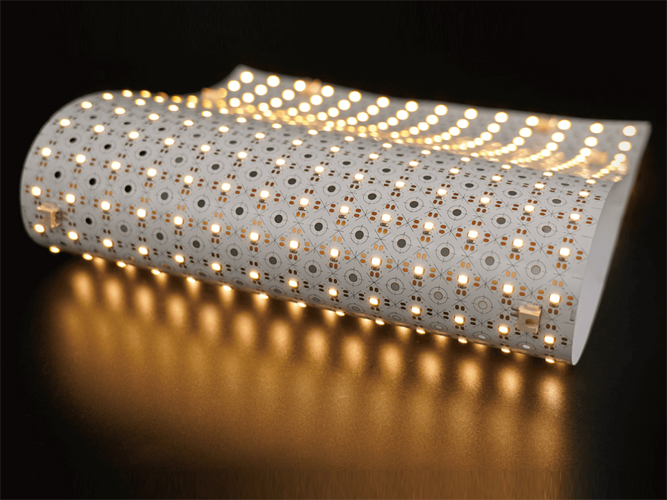
✔ LED Sheet Light → For all backlighting
High-density, matrix-style surface illumination.
Perfect for translucent stone.
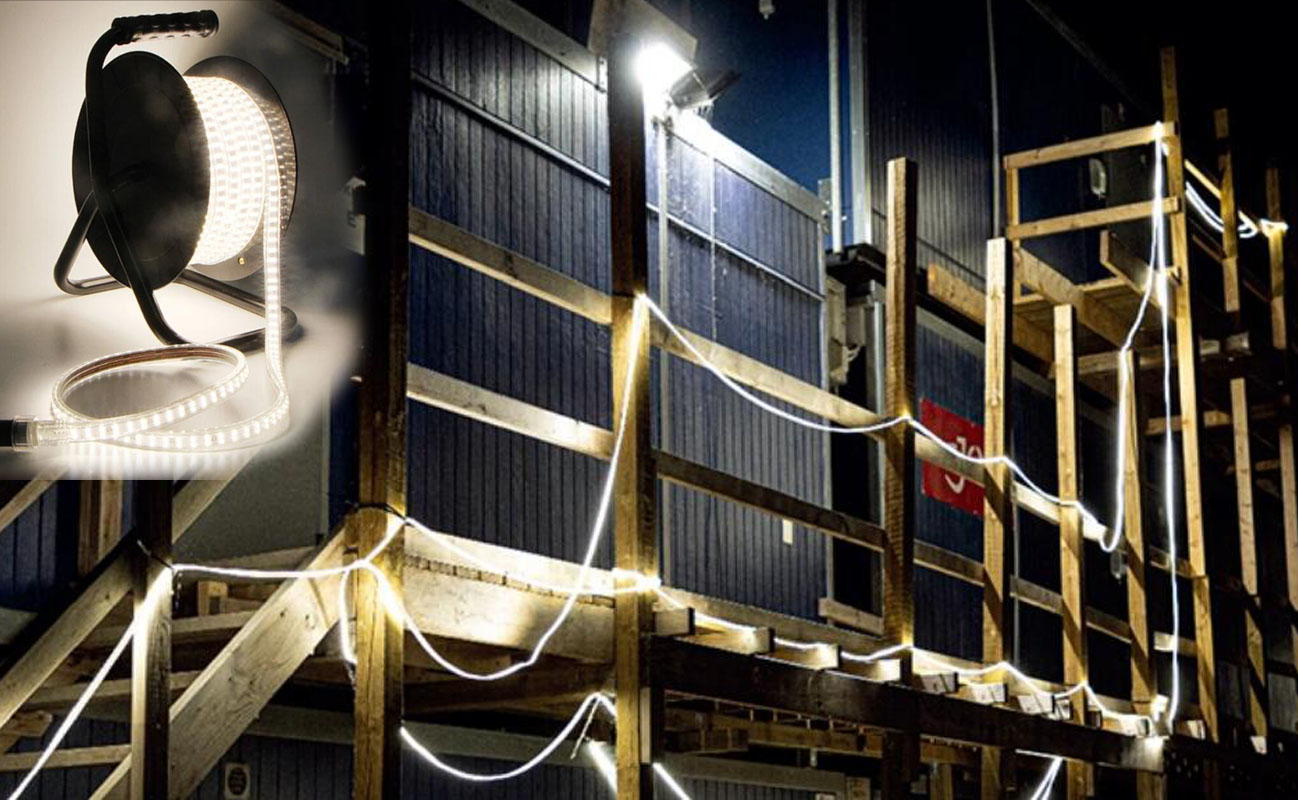
✘ LED Strip → NOT suitable for backlighting
LED spacing causes hotspots, stripes, and uneven glow.
Recommended Models:
392 LED Sheet → Standard brightness
784 LED Sheet → High brightness (best overall)
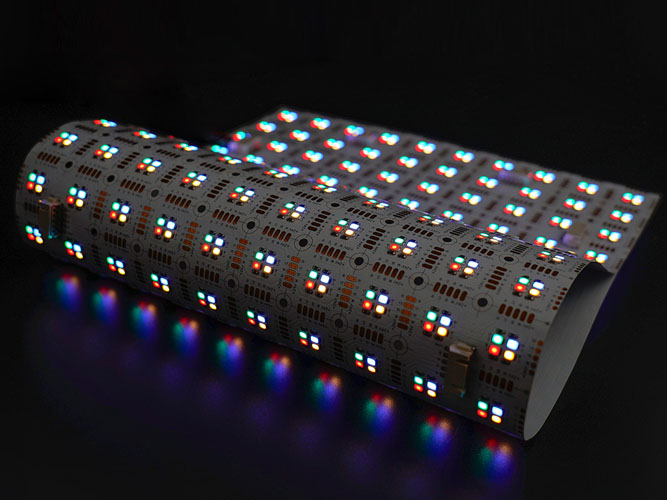
RGBW / Pixel Sheet → Decorative & dynamic panels
⭐ Step-by-Step: How to Backlight Translucent Stone (Beginner-Friendly)
Below is the definitive 7-step workflow used by architects, stone fabricators, and lighting engineers.
Step 1 — Test the Stone’s Translucency
Hold a strong flashlight behind the stone:
Bright glow → Easy to backlight
Uneven glow → Requires diffusion
Dull glow → Needs high-brightness 784 modules
Pro Tip:
Stone thickness varies—always test multiple spots.
Step 2 — Determine the Installation Depth
The distance between LED sheet and stone is the foundation of backlighting.
⭐ Recommended Cavity Depth:
| Result Needed | Depth |
|---|---|
| Ultra-thin design | 20–25 mm (must add diffuser) |
| Professional uniformity | 30–40 mm (ideal) |
| Thick/low-translucency stone | 50–80 mm |
Beginner Tip:
Shallow depth (<25 mm) looks good in renderings but difficult in real life.
Deeper cavity = smoother light.
Step 3 — Choose the Correct LED Sheet Brightness
Before choosing brightness, you may also want to understand the difference between LED Sheet Light and LED Strip.
👉 LED Sheet Light vs LED Strip — What’s the Real Difference?
Step 4 — Add a Diffusion Layer (If Needed)
Diffusion ensures you never see LED dots.
Use diffuser when:
Depth < 25 mm
Stone has uneven translucency
You want a softer, glow-like effect
Recommended Diffusion Materials:
2–4 mm frosted acrylic sheet
Matte white polycarbonate
Light diffusion film (for ultra-thin setups)
Step 5 — Plan LED Sheet Layout Properly
This part affects the final result more than the stone itself.
Layout Rules:
Keep LED sheets close together
No gaps or dark lines
Maintain direction if sheets have arrows
Use full coverage—stone shows everything
Keep wiring neat and hidden
Pro Tip:
Always pre-test layout before screw-mounting.
Step 6 — Connect Drivers and Test Before Installing the Stone
This is where beginners fail most.
Testing Checklist:
Uniform brightness
No bright/dark patches
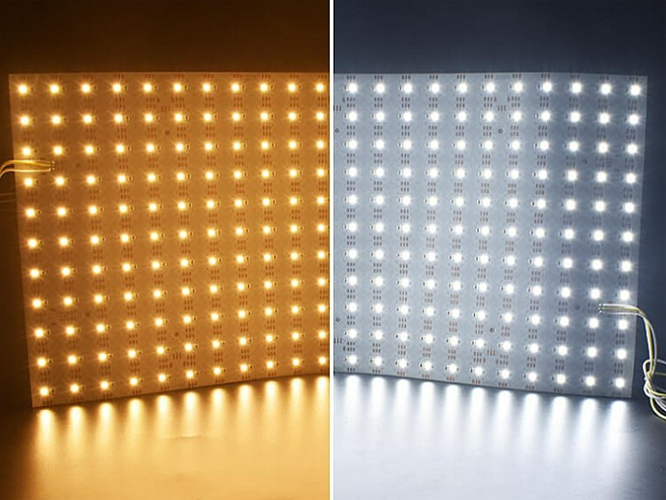
Color temperature matches design
No dead pixels (RGBW)
Drivers sized correctly
Never backlight stone without a full test.
Once the stone is installed, fixing issues costs 5–10× more.
Step 7 — Install the Stone Panel Gently and Securely
Keep the cavity depth stable
Ensure stone backside is clean
Avoid sharp shadows
Press evenly
Ensure heat can dissipate from LED sheets
For large stone slabs (>1.2m x 2.4m), always use 2 technicians during installation.
For more details about how backlit marble and stone behave under LED sheets, read: Backlit Marble & Stone Feature Walls — Complete Guide
⭐ Common Beginner Mistakes to Avoid
Using LED strips (100% failure on stone)
Cavity depth too shallow
No diffuser
Mixing color temperatures
LED sheet spacing too large
Not testing stone before installation
Using low-brightness modules on thick stone
Not allowing room for heat dissipation
⭐ Real-World Applications
These visuals help Google understand context (and help your readers):
Backlit onyx hotel reception desk
Backlit marble lobby wall
Backlit stone bathroom feature panel
Translucent quartz restaurant wall
Artistic RGBW stone installations
Luxury residential entryway backdrop
⭐ FAQ
Q1: How deep should the cavity be for backlit stone?
30–40 mm is ideal; <25 mm must use a diffuser.
Q2: Can I use LED strips for backlighting?
No. Strips cause hotspots and uneven lighting.
Q3: What color temperature is best?
3000K for warm stone, 4000K for natural tones, RGBW for decorative displays.
Q4: What LED sheet brightness do I need?
Thick/dark stones need 784; onyx often works with 392.
Q5: What is the best diffuser?
2–4 mm frosted acrylic gives the smoothest effect.
⭐ Conclusion
Backlighting translucent stone is easy once you understand:
The right stone
Correct installation depth
Proper LED sheet selection
Diffuser use
Correct layout and pre-testing
LED sheet light remains the professional and reliable solution for marble, onyx, quartzite, and architectural feature walls.
If you are working with onyx panels, check this essential guide: Backlit Onyx Lighting — How to Achieve the Perfect Effect
Looking for LED sheet lighting for your backlit onyx project?
AiDiWatt Lighting provides 392, 784, and RGBW LED sheets with factory-direct support.
Contact us for a fast quote and technical guidance.