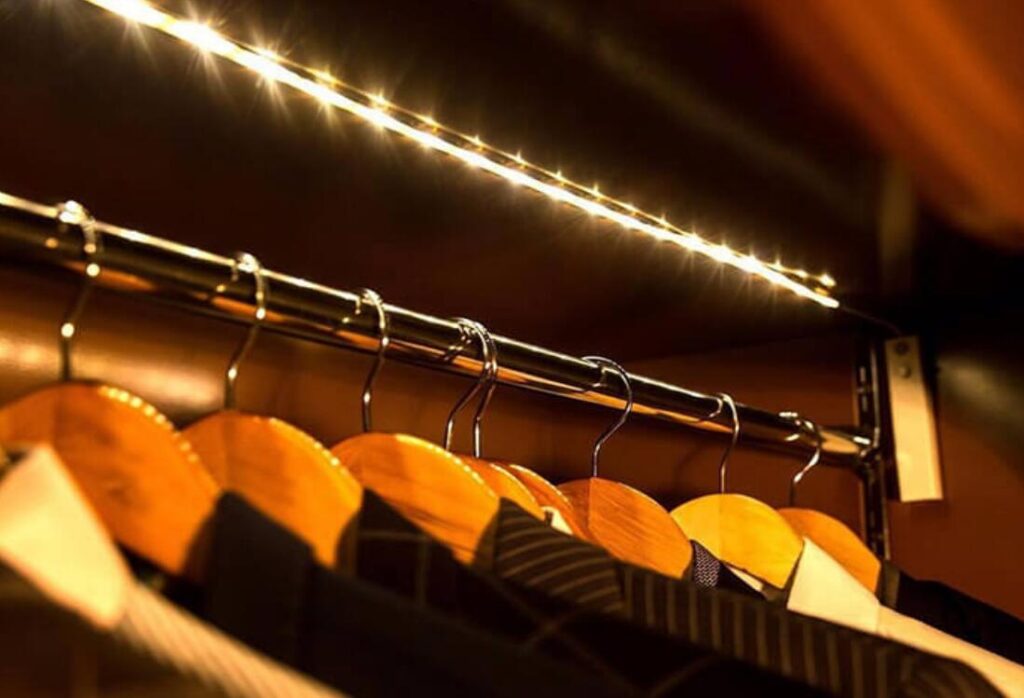
Are you tired of fumbling around in the dark, trying to find that perfect outfit? Say goodbye to poorly lit closets and hello to the brilliance of LED strip lights for closets!
Installing these lights is easier than you might think, and it can dramatically improve the functionality and aesthetics of your closet space.
Why Choose LED Strip Lights for Closets?
Closets are dark, confined spaces where traditional lighting solutions often fall short. Here’s where LED strip lights for closets are useful – they’re a modern solution that not only illuminates but also enhances.
Moreover, these lights are energy-efficient, long-lasting, and versatile. They provide uniform lighting that can reach every nook and cranny, making it easier to find and organize your belongings.
LED strip lights for closets come in a variety of colors and brightness levels, allowing you to customize the ambiance according to your needs. Whether you’re looking for a bright, daylight-like setting to easily distinguish colors or a warm, cozy glow to create a luxurious feel, LED strip lights have got you covered.

Comprehensive Guide to Installing LED Strip Lights for Closets
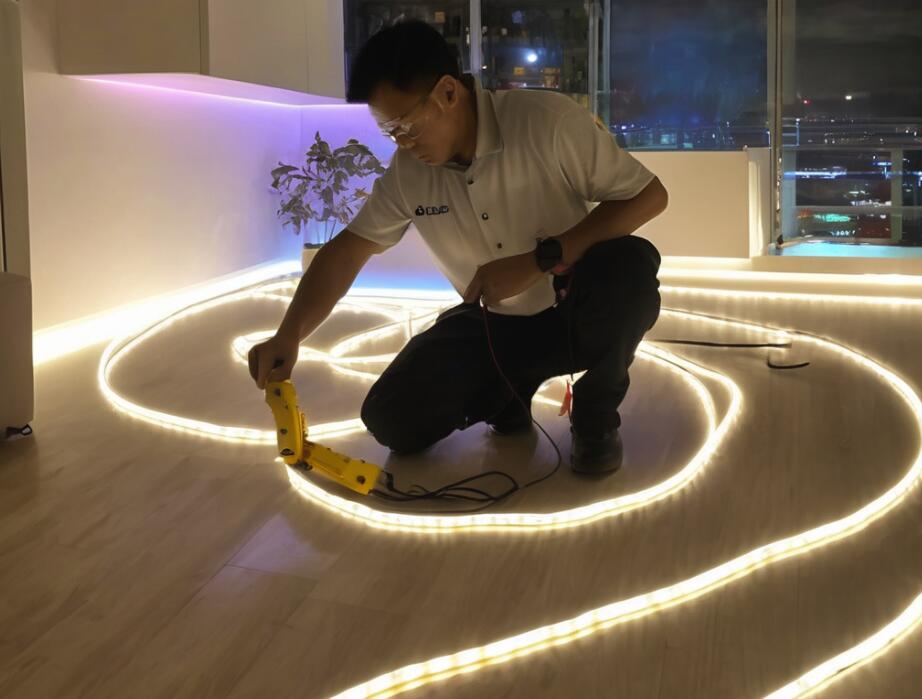
Gathering Your Supplies
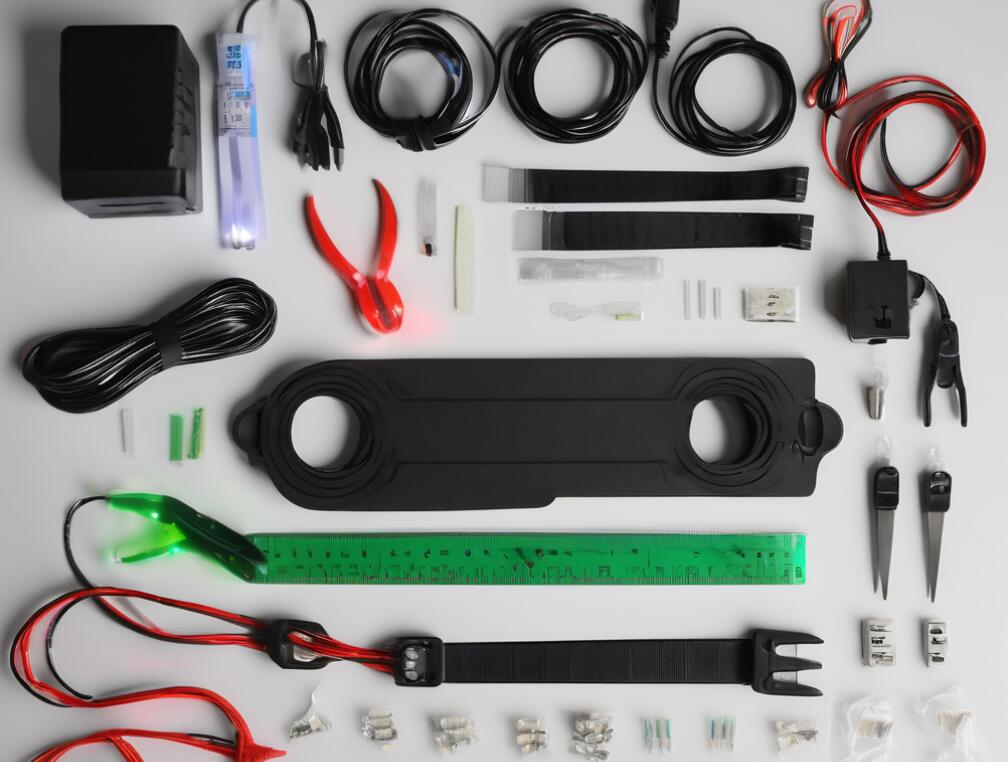
Before diving into the installation, it’s crucial to gather all the necessary supplies. Think of it as preparing your toolkit for a DIY adventure. With the right items on hand, the process will be smooth and hassle-free.
What You’ll Need:
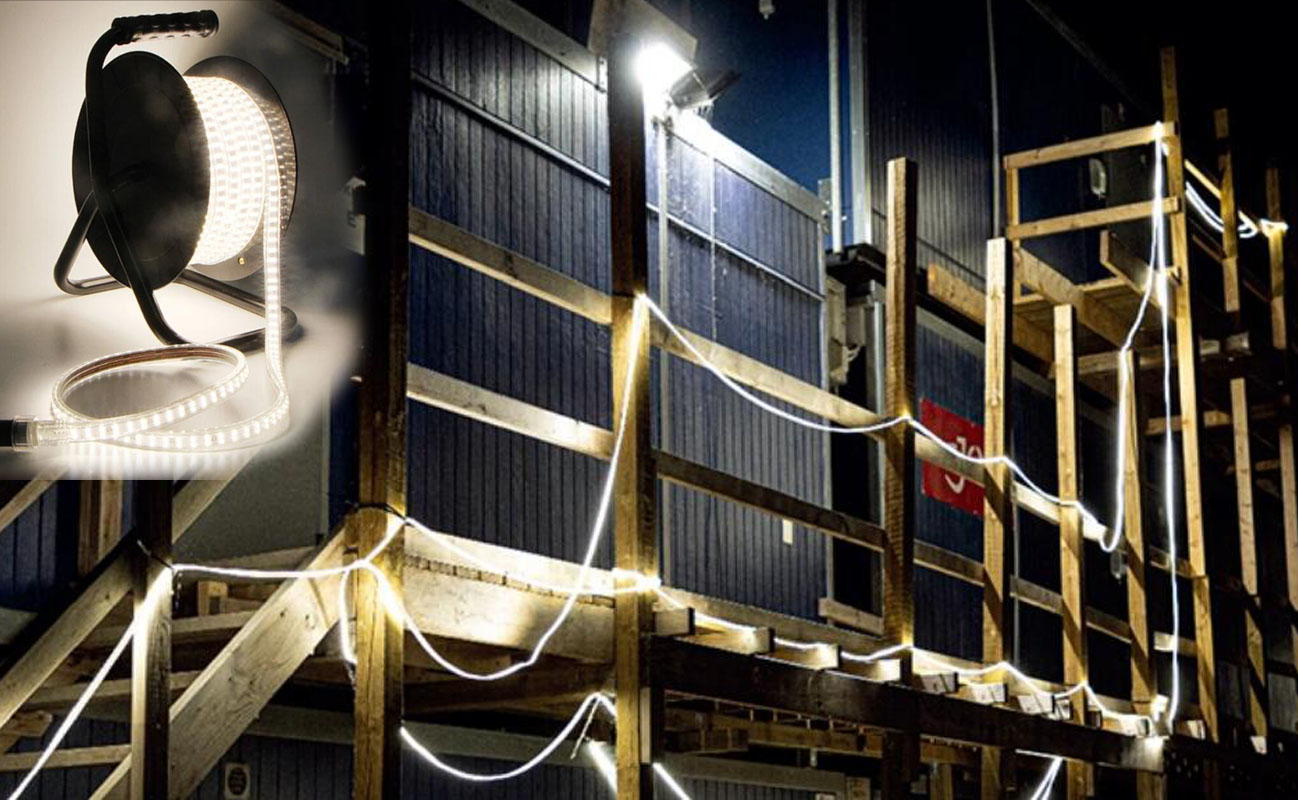
1.LED Strip Lights for Closets: Ensure you choose high-quality LED strip lights specifically designed for indoor use. Waterproof varieties are not necessary unless your closet is prone to moisture.
2.Power Adapter: Most LED strip lights require a power adapter. Confirm the voltage and compatibility with your chosen LED strips.
3.Extension Cables: Depending on the distance between your power source and the LED strips, you might need extension cables.
4.Mounting Clips or Adhesive: Most LED strip lights come with adhesive backing, but mounting clips can provide additional support.
5.Measuring Tape: Precision is key, so a measuring tape will help you get accurate dimensions.
6.Scissors: For cutting the LED strip lights to fit your closet’s dimensions.
7.Wire Connectors: If you need to connect multiple strips, wire connectors will come in handy.
Pro Tip:
Always check the length of the LED strip lights for closets against your closet dimensions. Measure twice, cut once!
Planning Your Layout
●Before sticking or mounting anything, it’s crucial to plan your layout. Measure the dimensions of your closet and decide where you want to place the LED strip lights for closets.
●Think about the areas that need the most illumination, such as shelves, hanging rods, or the floor. Sketch a rough diagram if it helps visualize the placement. Remember, the goal is to have even lighting throughout the space.
Prepping the Surface
●For the best adhesion, clean the surface where you’ll be attaching the LED strip lights for closets. Use a mild cleaner to remove any dust, dirt, or grease.
●Make sure the surface is completely dry before proceeding. This step ensures that the adhesive backing of the LED strips sticks properly and stays secure over time.
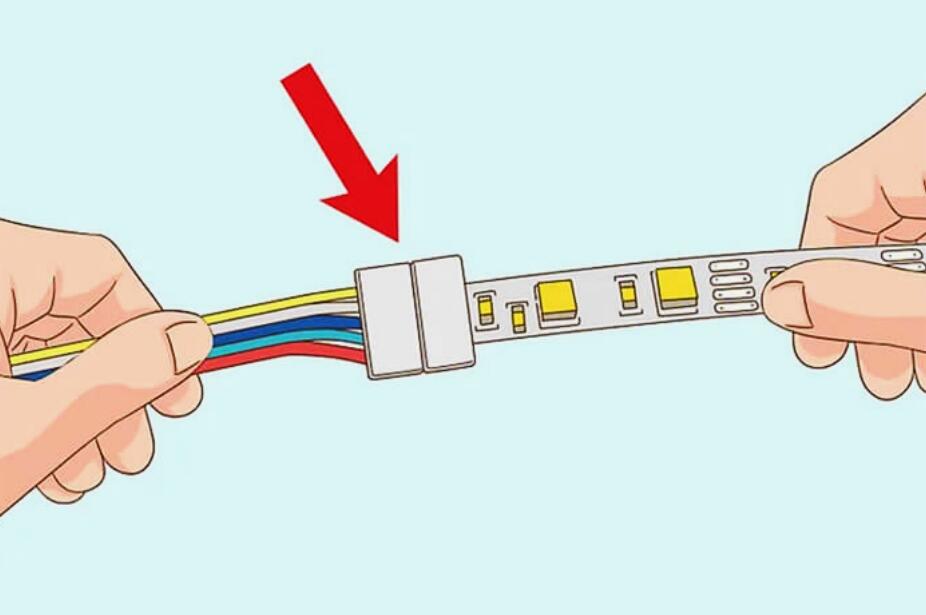
Cutting and Connecting the Strips
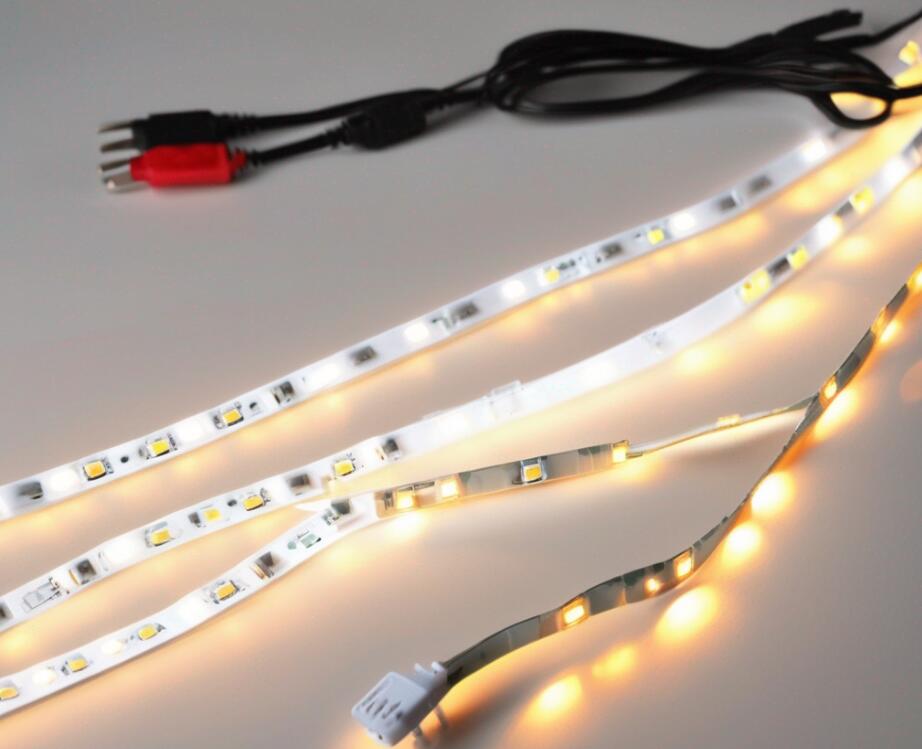
●If your closet requires multiple strips or custom lengths, you’ll need to cut and connect the LED strip lights. Most LED strips have designated cutting points, usually marked with a scissor icon. Use wire cutters to make clean cuts at these points.
●To connect the strips, use connector clips or solder the wires if you’re comfortable with basic electrical work. Ensure that the polarity matches to avoid any issues.
Installing the LED Strip Lights

Now comes the exciting part—installing the LED strip lights for closets!
●Peel off the adhesive backing and carefully press the strips into place according to your planned layout. If you’re using mounting clips, screw them in at regular intervals to hold the strips securely.
●Make sure to press firmly to ensure good contact between the adhesive and the surface. If you’re installing lights on a hanging rod, consider using magnetic clips for an easy, non-permanent solution.
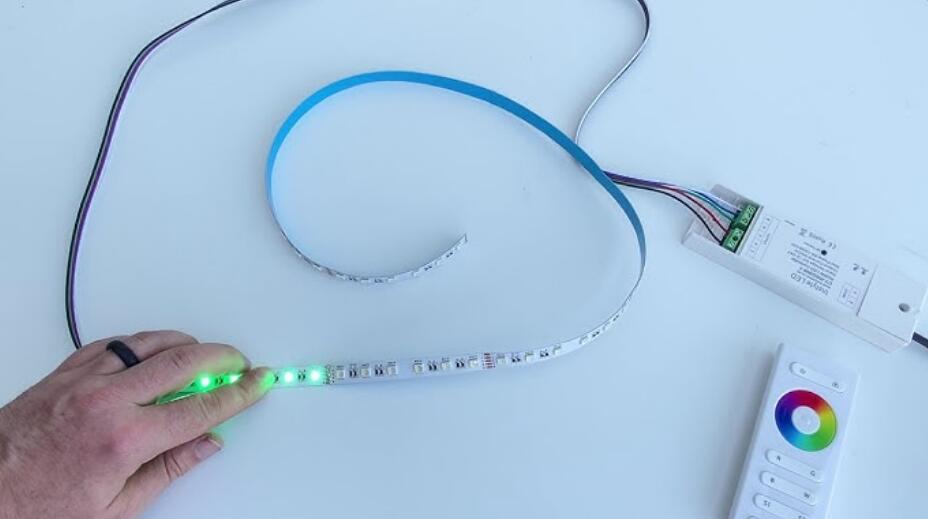
Connecting to Power
●Connect the end of the LED strip lights to the power adapter. Ensure the connection is snug and secure.
●Locate the nearest outlet to plug in the power adapter. If the distance is too far, use an extension cable.
●Plug in the power adapter and turn on the lights. Check for any sections that might not be lighting up. If everything looks good, proceed to the next step.
●To keep your closet tidy, use cable clips or adhesive hooks to hide the wires along the edges or corners.
●For added convenience, install an inline switch between the LED strip lights and the power adapter. This allows you to turn the lights on and off without unplugging them.
Pro Tip:
Consider using a smart plug for your LED strip lights for closets. This allows you to control the lights with your smartphone or voice assistant, adding a layer of modern convenience.
Enhancing with Accessories
To take your closet lighting to the next level, consider adding some accessories.
●Motion sensors can automatically turn the lights on when you open the closet door, adding convenience and saving energy.
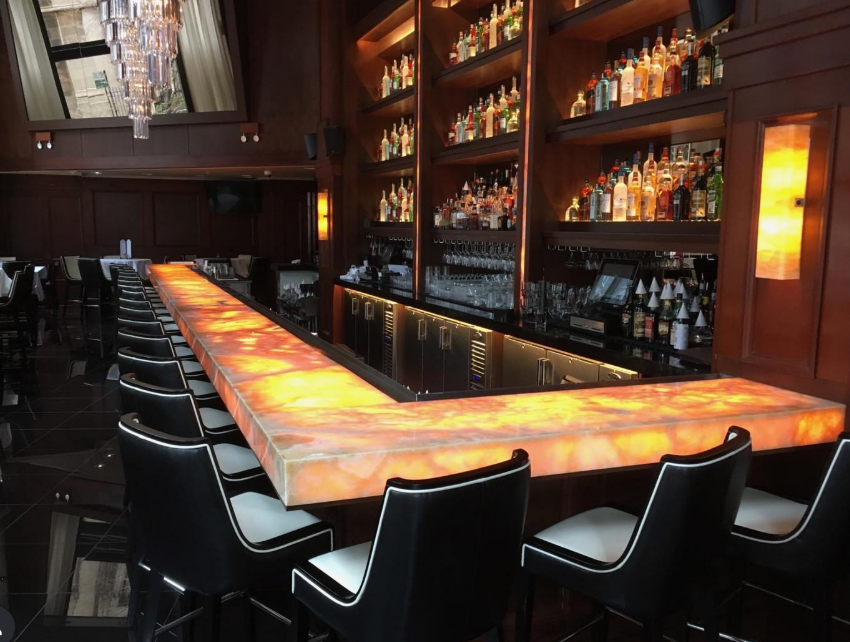
●Diffuser covers can soften the light and create a more even glow. You can also use RGB LED strips to add a pop of color and make your closet truly unique.
●Cable management is another crucial aspect to consider. Using clips or channels to neatly route the wires ensures a clean and professional look.
●Reflective surfaces like mirrors can enhance the effectiveness of your LED strip lights for closets by amplifying the light and making the space appear larger and more open.
Dimmer switches also allow you to adjust the brightness of your LED strip lights for closets to suit different times of the day or specific tasks. For example, you might want brighter lighting in the morning when you’re getting ready for work, and a softer glow in the evening when you’re winding down.
Troubleshooting Common Issues
Even with careful planning, you might encounter some hiccups during installation. One common issue is flickering lights. This can often be resolved by checking the power supply.
Ensure that it matches the voltage requirements of your LED strip lights. Loose connections or damaged wires can also cause flickering, so double-check all connections and replace any faulty components.
Another issue you might face is uneven lighting. This can occur if the LED strip lights are not installed properly or if the adhesive backing is not sticking well. Make sure to clean the surface thoroughly before installation and press firmly to ensure a secure bond.
If your LED strip lights for closets are still not working, check the following:
●Ensure all connections are secure and correctly aligned.
●Verify that the power supply matches the voltage requirements of the LED strips.
●Test each strip individually to identify any faulty sections.
●Check for any damage or breaks in the strips or wires.
Addressing these common issues can save you time and frustration.
Maintenance Tips
Installing LED strip lights for closets is just the beginning; maintaining them ensures they continue to function effectively and look great. Here are some expert tips to keep your closet lighting in top shape:
Regular Cleaning
Dust and dirt can accumulate on the surface of LED strip lights, diminishing their brightness. Gently wipe the strips with a soft, dry cloth every few months to keep them clean. Avoid using harsh chemicals or abrasive materials that could damage the lights.
Check Connections
Periodically inspect the connections between the LED strips and the power supply. Loose or frayed wires can cause the lights to flicker or stop working altogether. Tighten any loose connections and replace damaged wires as needed.
Avoid Overheating
LED strip lights for closets are designed to be energy-efficient, but they can still overheat if used improperly. Ensure the strips have adequate ventilation and are not covered by clothing or other items. If you notice excessive heat, turn off the lights and check for any issues with the installation.
Replace Damaged Sections
If a section of your LED strip lights becomes damaged or stops working, replace it promptly to maintain even lighting. Most LED strips can be cut and reconnected easily, allowing you to replace only the affected section without having to reinstall the entire strip.
Monitor Power Supply
The power supply is a critical component of your LED strip lights for closets. Regularly check for signs of wear or damage, such as frayed cords or overheating. Replace the power supply if you notice any issues to prevent potential hazards and ensure consistent performance.
Use a Timer or Smart Switch
To extend the lifespan of your LED strip lights, consider using a timer or smart switch to control when the lights are on. This not only conserves energy but also reduces the wear and tear on the lights, helping them last longer.
Transform Your Closet Today!
Installing LED strip lights for closets is a simple, yet transformative project that can enhance your daily routine. With a little planning and some basic tools, you can achieve a beautifully lit closet that makes finding your favorite outfits a breeze. So, why wait? Light up your closet and experience the difference today!
Remember, the key to a successful installation is attention to detail and creativity. Enjoy the process and the stunning results of your newly illuminated closet space!